Now, let's continue customizing the package that we built during the Building your First Package exercise.
In this task you will customize the Package Icon.
1) Open the Package Builder window and select the “Test Package Source” folder as your VI Package Source Folder. (Note that you obtained Test Package Source.zip in the Building your First Package exercise)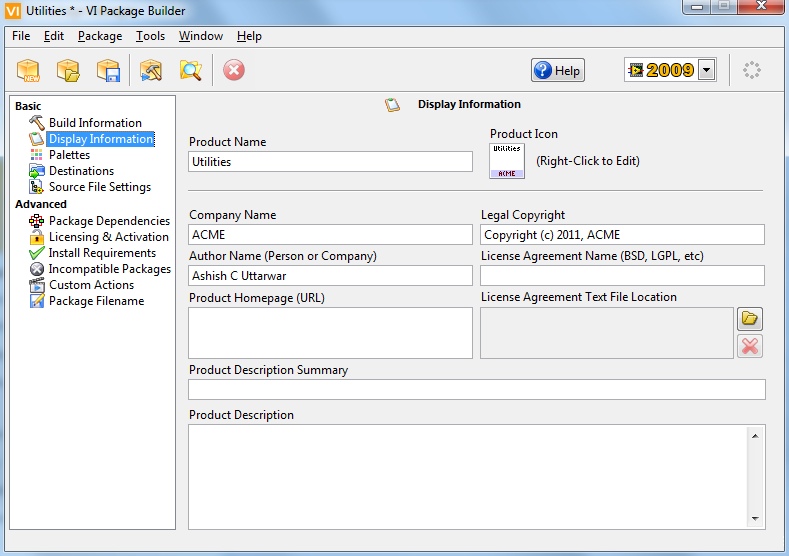
Note that VI Package Build automatically generates a nice looking Package Icon for you.
2) Let's modify it by right-clicking on it and choosing Edit Icon: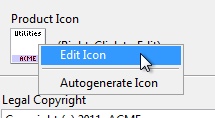
This will launch the Icon Editor dialog in the same LabVIEW version that will be used to build your package. We use LabVIEW's icon editor because people are very familiar with it and might even have configured a custom icon editor (such as Mballa's Icon Editor or ThSa's Icon Editor). 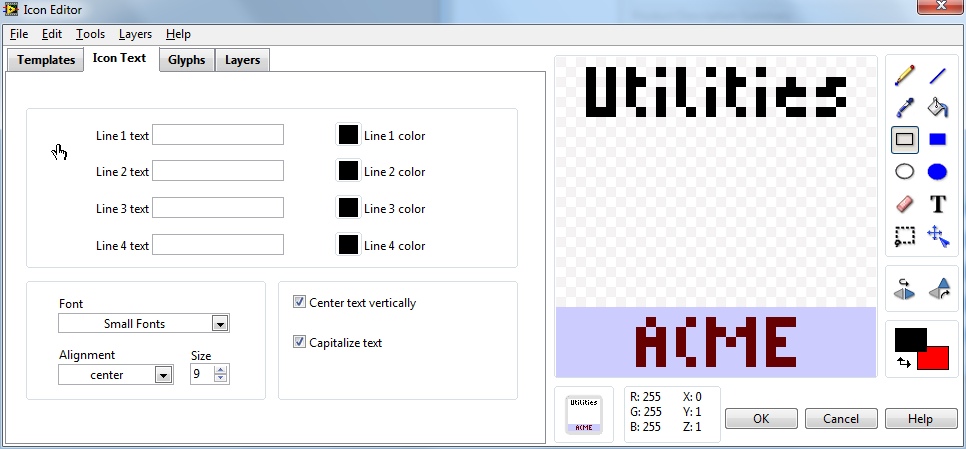
3) Go ahead and edit the icon to suite your creative needs and then press OK to apply the change to your VI Package.
4) You will be presented with a dialog asking you if you also want to use the new icon for the Controls and Functions palette. Press Yes.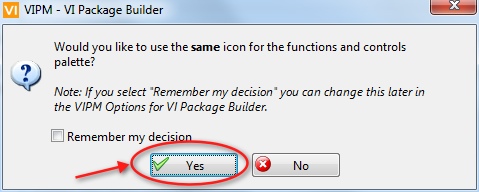
5) If you prefer, at any time to revert to the auto-generated icon, you can simply right-click on an icon and choose Autogenerate Icon.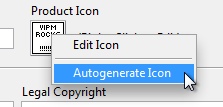
This will revert it to something like the following:
See how easy that was! Now, let's try Editing the Functions Palette.
Up: VI Package Guide
Comments
0 comments
Article is closed for comments.