After you’ve finished Building your First Package and installing it, you’ll find that you sometimes need to uninstall and remove it from VIPM’s package list.
Now, let’s remove the custom package we built (in our last exercise) completely from LabVIEW and VIPM. We might do this if we’ve renamed a package and don’t want to use the older package in any projects.
1. Go to the VIPM Main window.
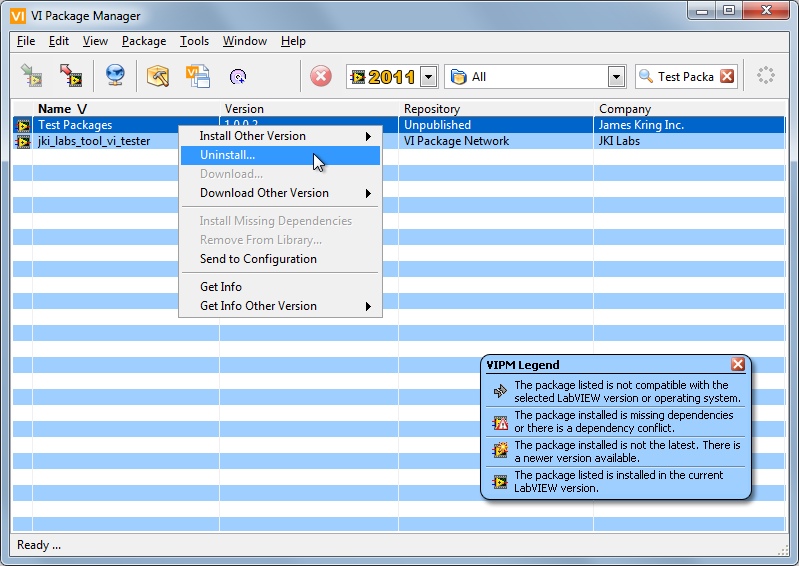
2. Select the package you built and installed on the previous task (Building Your First Package). Right click and select Uninstall…
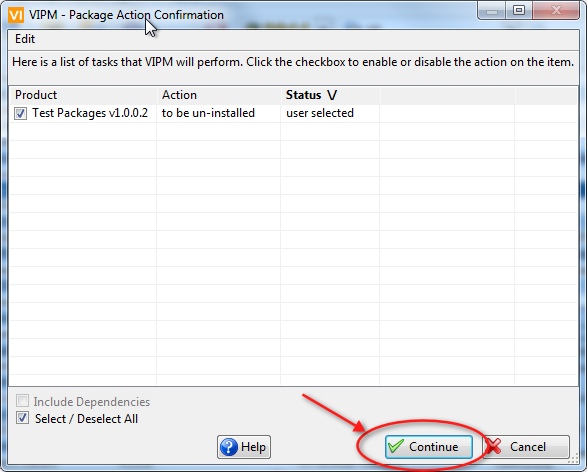
3. Press ‘Continue’ on the confirmation dialog.
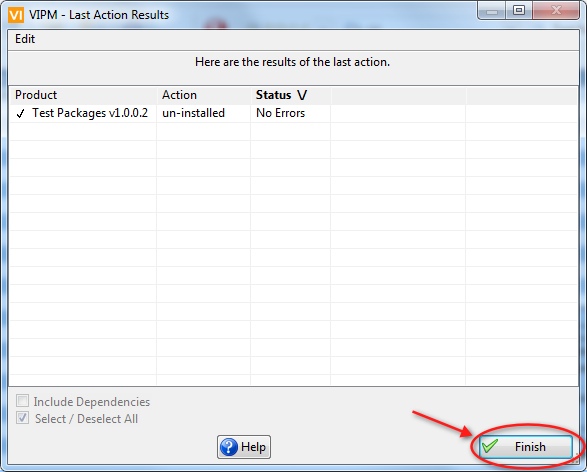
4. Package un-installation results will be displayed. Clicl "Finish" to close his dialog.
Verify that the VI Package is no longer present in the User Libraries category of the LabVIEW Functions Palette.
Now we will remove the package completely from VIPM.
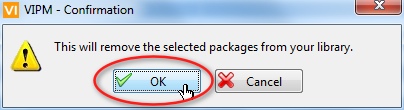
5. Right click the package and select Remove From Library…

6. Press ‘Ok’ on the confirmation dialog.
Your package is now removed from VIPM’s package list. You can verify that it no longer shows up in the VIPM package list.
Congratulations, you now know the basics of how to build, install, and remove packages!
If you have a little more time, try customizing your package.
Comments
0 comments
Article is closed for comments.